Move robot with mouse
Control a FANUC robot in real time using Dynamic Path Modification (DPM) and SNPX. Ideal for joystick or 6D mouse teleoperation setups.
This article shows how to move a FANUC robot in real time from a PC, with a joystick or a 6D mouse, using the Dynamic Path Modification option (DPM, R739) and SNPX. The PC sends small offsets, and the robot applies them at each interpolation period.
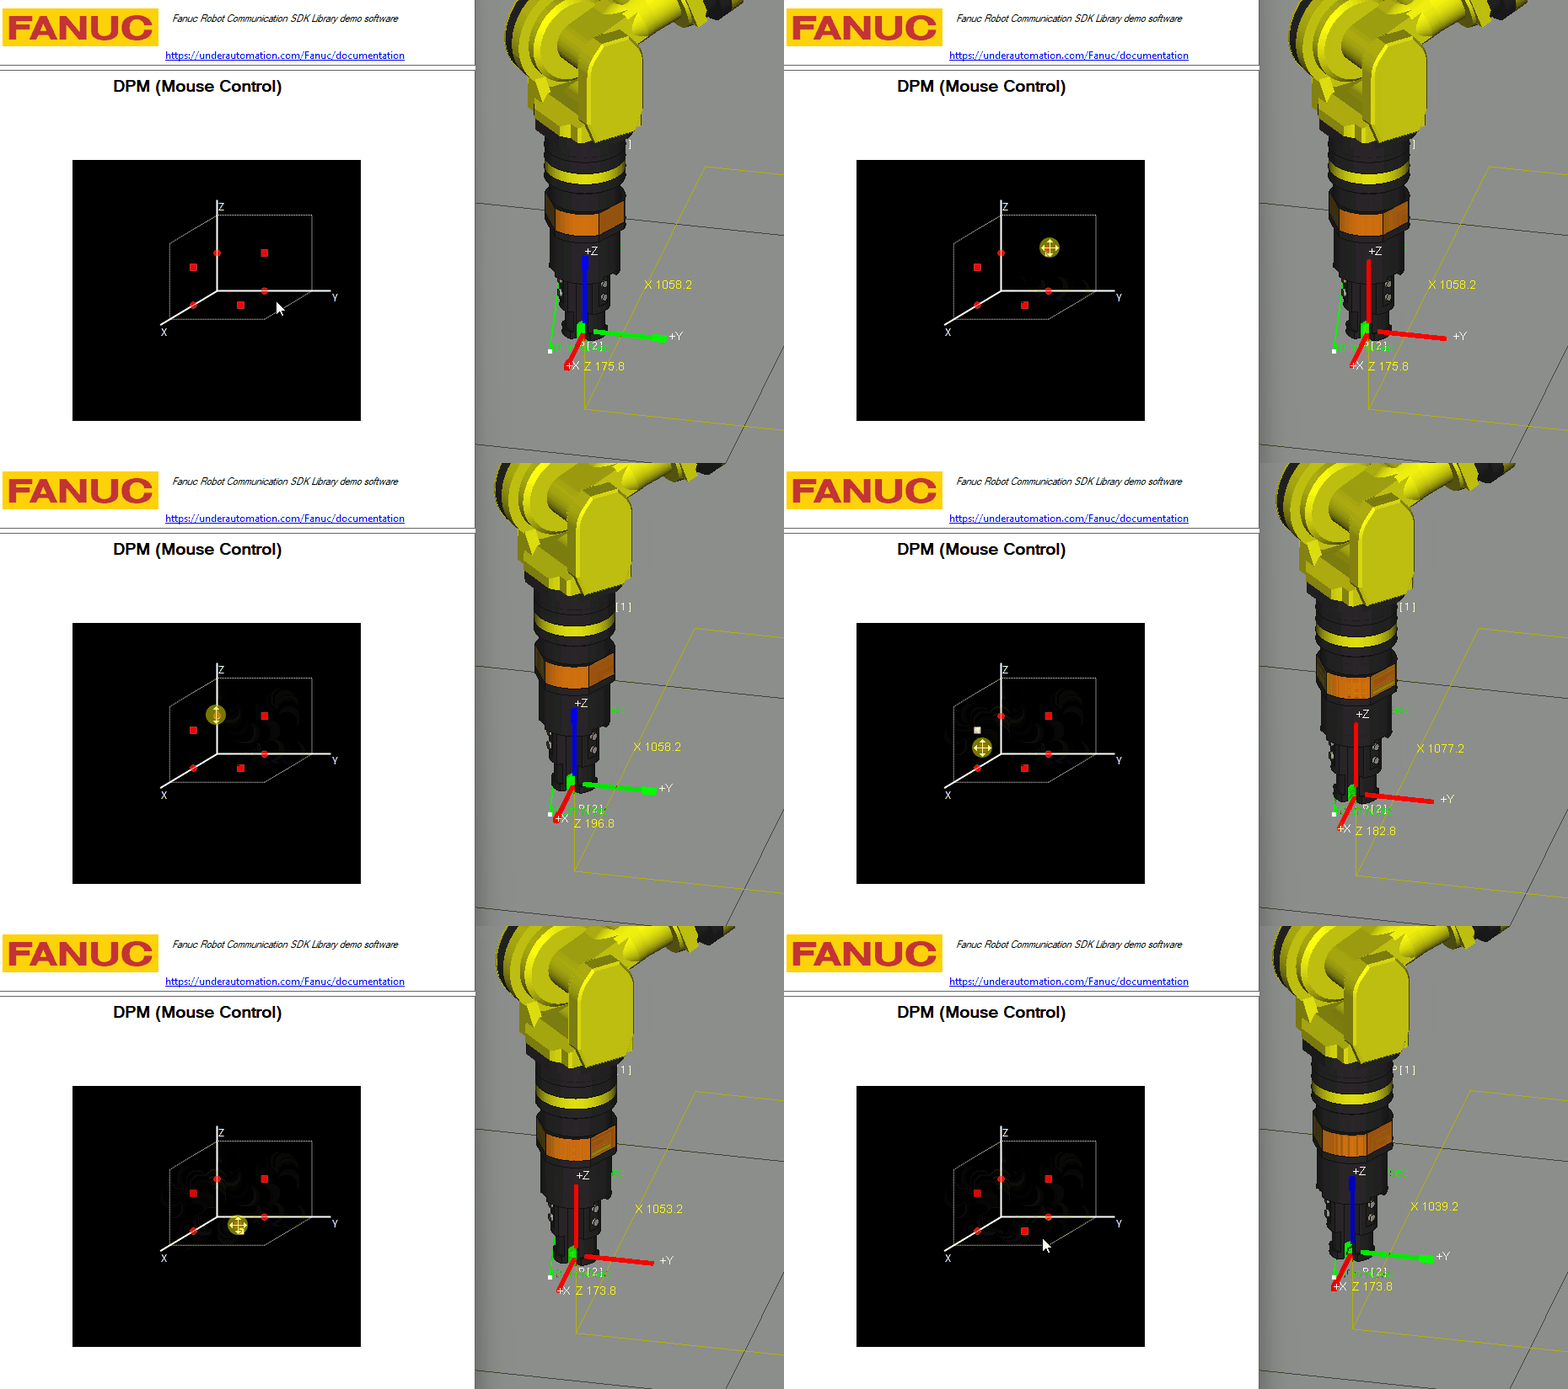
Principle
DPM changes the path of the robot while a motion runs. Here it is used in a different way: the robot stays at the end of a short motion, and DPM keeps applying the offsets that the PC writes. The robot then follows the joystick or the mouse.
Prerequisites
The controller needs these options:
- R739 Dyn Path Modifier: the
Trackinstructions of DPM. - SNPX: option R553 "HMI Device SNPX" with the FANUC America parameters (R650 FRA). No option with the FANUC Ltd. parameters (R651 FRL).
TP program
This program moves the robot to P[1], starts DPM, and goes to P[2], which is 1 mm from P[1]. DPM needs a motion of non-zero length: with the same position twice, the controller raises DPMO-005 NO Zero Dist Motion.
The robot then stays at P[2] and applies the offsets written in the system variables.
/PROG DPM_MOUSE/ATTROWNER = MNEDITOR;COMMENT = "";PROG_SIZE = 542;CREATE = DATE 25-03-23 TIME 10:14:27;MODIFIED = DATE 25-03-23 TIME 10:14:27;FILE_NAME = ;VERSION = 0;LINE_COUNT = 1;MEMORY_SIZE = 1030;PROTECT = READ_WRITE;TCD: STACK_SIZE = 0,TASK_PRIORITY = 50,TIME_SLICE = 0,BUSY_LAMP_OFF = 0,ABORT_REQUEST = 0,PAUSE_REQUEST = 0;DEFAULT_GROUP = 1,*,*,*,*;CONTROL_CODE = 00000000 00000000;/MN1:J P[1] 80% FINE ;2: Track DPM[1] ;3:L P[2] 100mm/sec FINE ;4: Track End ;5:L P[2] 100mm/sec FINE ;/POSP[1]{GP1:UF : 0, UT : 1, CONFIG : 'N U T, 0, 0, 0',X = 1039.198 mm, Y = -1059.802 mm, Z = 208.816 mm,W = 0.000 deg, P = 0.000 deg, R = 0.000 deg};P[2]{GP1:UF : 0, UT : 1, CONFIG : 'N U T, 0, 0, 0',X = 1039.198 mm, Y = -1059.802 mm, Z = 209.816 mm,W = 0.000 deg, P = 0.000 deg, R = 0.000 deg};/END
DPM configuration
Open MENU, Setup, DPM Setup, and set these values.
Schedule 1, CONFIG
DPM function:              ENABLED
Instruction type:          MODAL
Offset BEF/AFT filter:     AFTER
Orientation CTRL:          DISABLED
Delay time (inline DPM):   5 ITP
Motion group mask:         [1,*,*,*,*,*,*,*]
Schedule 1, DETAIL
DPM type:                  MODAL
Offset ref. frame:         UTOOL
Offset accumulate:         FALSE
Stationary track:          YES
Stationary track synch:    DI[1]
Channels 1, 2 and 3
Channel enabled:           TRUE
On-The-Fly Input:          DI[0]
Max offset/path:           100.00 mm
Max offset/ITP:            50.00 mm
Min offset/ITP:            0.00 mm
Channel input type:        SYSVAR
Offset value:              0.00 mm
Disable the channels 4 and above if you do not use them.
How it works
At each interpolation period (ITP), the controller reads the system variable $INI_OFS, applies the offset, then sets it back to zero. The PC writes a new offset at each period.
| Variable | Meaning |
|---|---|
$DPM_SCH[1] | Schedule 1 |
$GRP[1] | Motion group 1 |
$OFS[1], [2], [3] | X, Y and Z channel offsets |
$INI_OFS | The offset to apply |
Example
The PC writes the offsets in these system variables with SNPX, at each period:
parameters.Snpx.Enable = true;robot.Connect(parameters);// Offsets read from the joystick or the mouse, between -1 and 1double x = 0.2, y = 0, z = -0.5;// Write the offset of each channel. The controller applies it at the next// interpolation period, then sets it back to zero.if (x != 0) robot.Snpx.IntegerSystemVariables.Write("$DPM_SCH[1].$GRP[1].$OFS[1].$INI_OFS", Math.Sign(x) + (int)(x * 5));if (y != 0) robot.Snpx.IntegerSystemVariables.Write("$DPM_SCH[1].$GRP[1].$OFS[2].$INI_OFS", Math.Sign(y) + (int)(y * 5));if (z != 0) robot.Snpx.IntegerSystemVariables.Write("$DPM_SCH[1].$GRP[1].$OFS[3].$INI_OFS", Math.Sign(z) + (int)(z * 5));robot.Disconnect();}
The DPM page of the demo application does it with the mouse. Its source, DpmControl.cs, is the complete example.
Everything on this page can be tried without writing code, in the DPM (R739) page of the demo application.
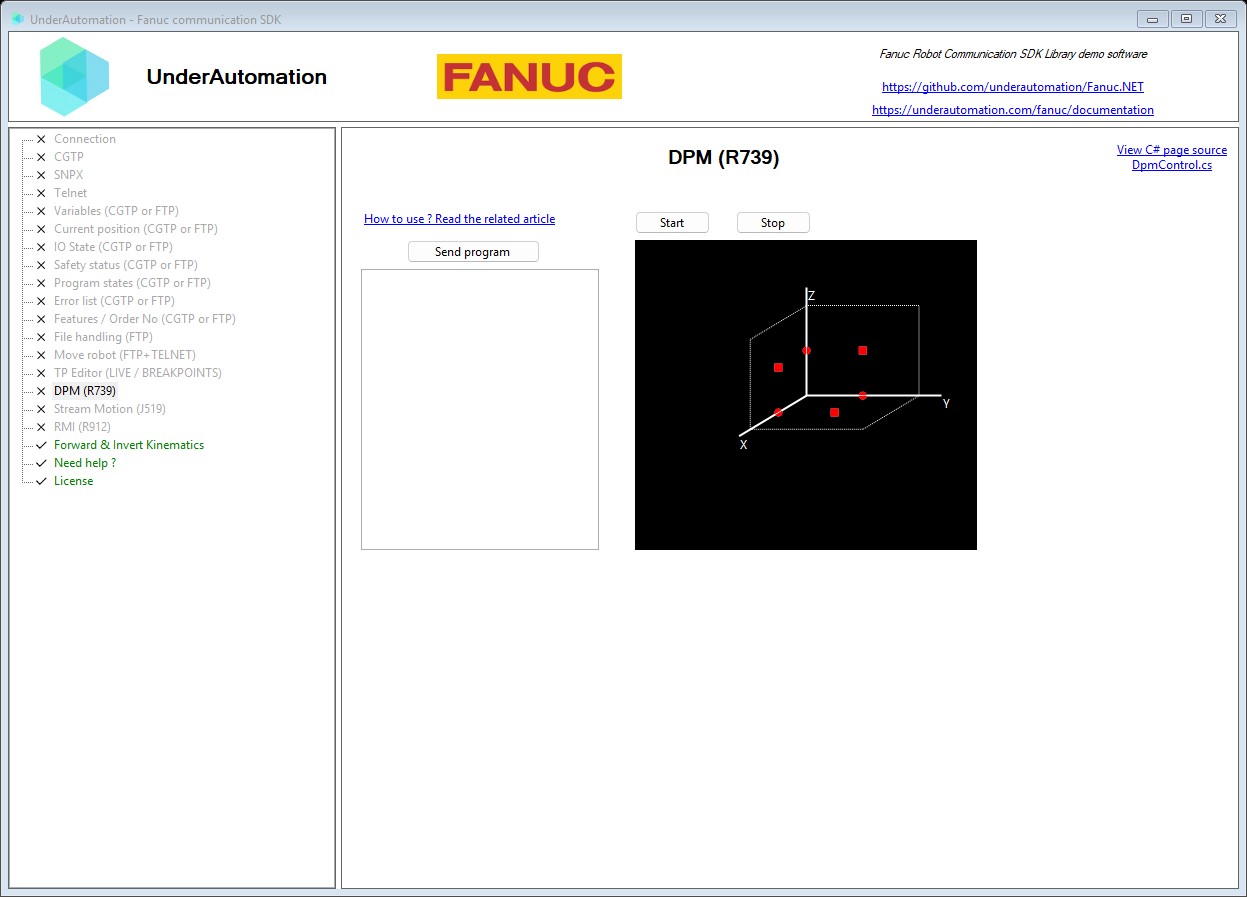
The demo application is open source. The C# source of this page is DpmControl.cs.
Notes
- The offsets can also be written with socket messaging, KAREL or Telnet.
- To drive the offsets from analog inputs (AI) or group inputs (GI), change
Channel input type: the system variables are then not needed.