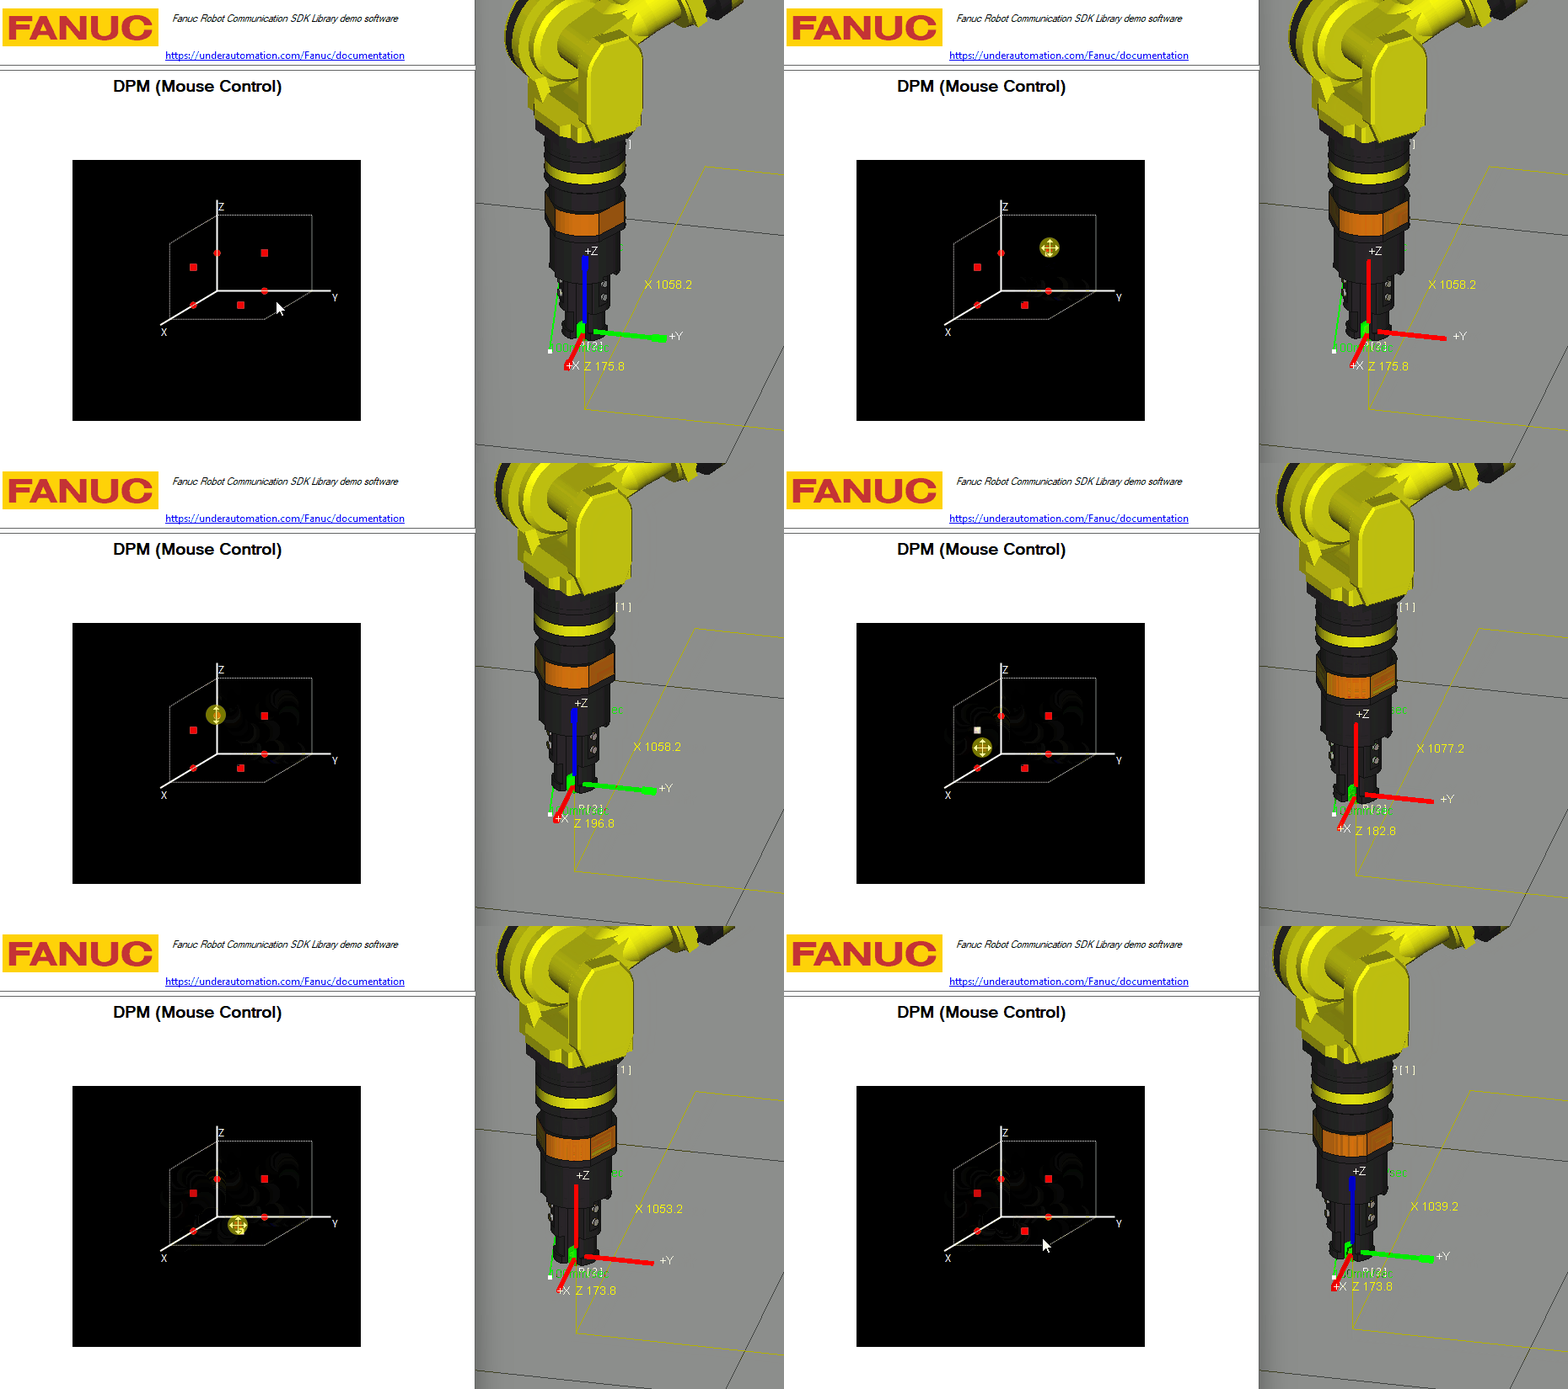
Move robot with mouse
Learn how to control a FANUC robot in real time using Dynamic Path Modification (DPM) and SNPX. Ideal for joystick or 6D mouse teleoperation setups, with step-by-step TP program and configuration guide.
🚨 The Challenge
In certain applications, you need to move the robot dynamically by sending a continuous stream of velocity commands. Think real-time control like using a joystick 🎮 or even a fancy 6D mouse 🖱️ , yes, those exist!

✅ The DPM-Based Solution
The DPM (Dynamic Path Modification) option lets you dynamically adjust the robot's motion path while it's executing. But here's the twist: we're going to hack it a little (in a good way 😎) by using DPM after the motion is "done", keeping the robot stationary but reactive to real-time path adjustments.
🔧 Required Options
To pull this off, make sure the following are enabled:
- R739 - Dyn Path Modifier: Allows use of
Trackinstructions for DPM. - SNPX Communication:
- If R650 FRA params is selected, enable
R553 - HMI Device SNPX. - If R651 FRL Params is selected, no extra option needed.
- If R650 FRA params is selected, enable
🤖 TP Program Example
This TP program moves the robot to position P[1], starts DPM, and goes to P[2], which is super close to P[1]. Why? Because DPM doesn't work if the same position is used. You will get a DPMO-005 NO Zero Dist Motion.
After that, the robot stays at P[2], ready to respond to live path tweaks through system variables.
/PROG DPM_MOUSE/ATTROWNER = MNEDITOR;COMMENT = "";PROG_SIZE = 542;CREATE = DATE 25-03-23 TIME 10:14:27;MODIFIED = DATE 25-03-23 TIME 10:14:27;FILE_NAME = ;VERSION = 0;LINE_COUNT = 1;MEMORY_SIZE = 1030;PROTECT = READ_WRITE;TCD: STACK_SIZE = 0,TASK_PRIORITY = 50,TIME_SLICE = 0,BUSY_LAMP_OFF = 0,ABORT_REQUEST = 0,PAUSE_REQUEST = 0;DEFAULT_GROUP = 1,*,*,*,*;CONTROL_CODE = 00000000 00000000;/MN1:J P[1] 80% FINE ;2: Track DPM[1] ;3:L P[2] 100mm/sec FINE ;4: Track End ;5:L P[2] 100mm/sec FINE ;/POSP[1]{GP1:UF : 0, UT : 1, CONFIG : 'N U T, 0, 0, 0',X = 1039.198 mm, Y = -1059.802 mm, Z = 208.816 mm,W = 0.000 deg, P = 0.000 deg, R = 0.000 deg};P[2]{GP1:UF : 0, UT : 1, CONFIG : 'N U T, 0, 0, 0',X = 1039.198 mm, Y = -1059.802 mm, Z = 209.816 mm,W = 0.000 deg, P = 0.000 deg, R = 0.000 deg};/END
⚙️ DPM Configuration
Go to MENU → Setup → DPM Setup and configure as follows:
Schedule 1 - CONFIG:
DPM function:              ENABLED ✅
Instruction type:          MODAL
Offset BEF/AFT filter:     AFTER
Orientation CTRL:          DISABLED
Delay time (inline DPM):   5 ITP
Motion group mask:         [1,*,*,*,*,*,*,*]
Schedule 1 - DETAIL:
DPM type:                  MODAL
Offset ref. frame:         UTOOL
Offset accumulate:         FALSE
Stationary track:          YES 📍
Stationary track synch:    DI[1]
Channels 1, 2, 3 Settings:
Channel enabled:           TRUE
On-The-Fly Input:          DI[0]
Max offset/path:           100.00 mm 🚧
Max offset/ITP:            50.00 mm
Min offset/ITP:            0.00 mm
Channel input type:        SYSVAR
Offset value:              0.00 mm
You can safely disable unused channels 4+ to keep things clean ✨.
🧠 How It Works (Behind the Scenes)
Each Instruction Time Period (ITP), the robot reads a system variable ($INI_OFS), applies the offset, then resets it to zero. It's like a little loop that gives you live path control 🔁.
Variable Breakdown:
| Variable | Meaning |
|---|---|
$DPM_SCH[1] | Schedule 1 |
$GRP[1] | Motion group 1 |
$OFS[1], [2], [3] | X, Y, Z channel offsets |
$INI_OFS | The actual offset to apply |
💻 C# Integration Example
Using SNPX, you can send DPM commands directly by writing to system variables.
👉 Grab the example code here: Download
💡 Notes & Tips
- You can also write to system variables using other methods: Socket messaging, KAREL, or Telnet.
- Want to control via analog (AI) or group inputs (GI)? Just change
Channel input type, no need to use system variables if it fits your setup better.