Get started with LabVIEW
Control a Fanuc robot from LabVIEW 2010 to 2024 with the VIs of UnderAutomation.Fanuc.lvlib: Telnet KCL, FTP and SNPX. Nothing to install on the controller.
- Download
- What the library does
- Demonstration video
- Example application
- Register the license
- Connect to the robot
- Telnet KCL
- Run
- Pause
- Continue
- Hold
- Abort
- Abort all programs
- Clear program
- Get current position
- Get variable value
- Set variable value
- Clear variables
- Reset alarms
- Set port
- Simulate
- Unsimulate
- Unsimulate all
- Telnet is connected
- FTP
- Get current position
- Get IO states
- Get safety status
- Get all errors list
- Get numeric registers
- Get position registers
- Get string registers
- SNPX
- Get world position
- Get user frame position
- Read position register
- Write position register
- Read numeric register
- Write numeric register
- Read string register
- Write string register
- SNPX is connected
- What to read next
This page shows how to use the Fanuc SDK from LabVIEW, to control a Fanuc controller or a ROBOGUIDE virtual robot with Telnet KCL, FTP and SNPX. The library is a set of VIs grouped in UnderAutomation.Fanuc.lvlib, compatible with LabVIEW 2010 to 2024. Nothing is installed on the controller.
Download
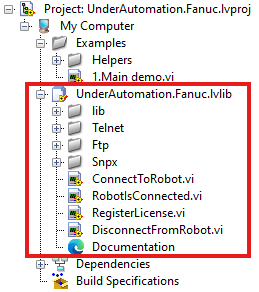
The releases of Fanuc.vi contain:
- the library
UnderAutomation.Fanuc.lvlib, with its VIs; - the example project
UnderAutomation.Fanuc.lvproj, for your LabVIEW version.
The sources are on GitHub: github.com/underautomation/Fanuc.vi. Questions and bug reports go to its issues.
What the library does
- Read and write system variables.
- Read and write numeric, string and position registers.
- Run, pause, hold, continue and abort programs.
- Reset alarms and read the alarm history.
- Set, simulate and unsimulate I/O ports (DOUT, UI, UO, GI, GO...).
- Read the safety status, the current position and the diagnostics.
Demonstration video
Example application
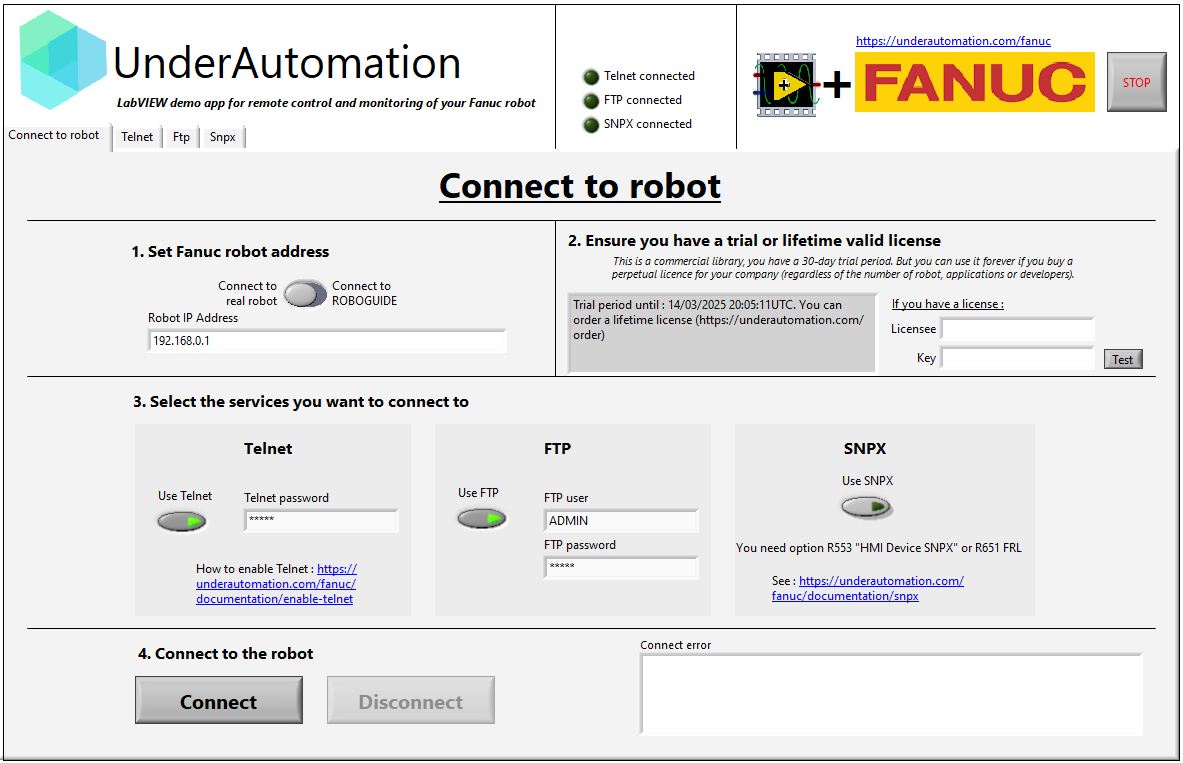
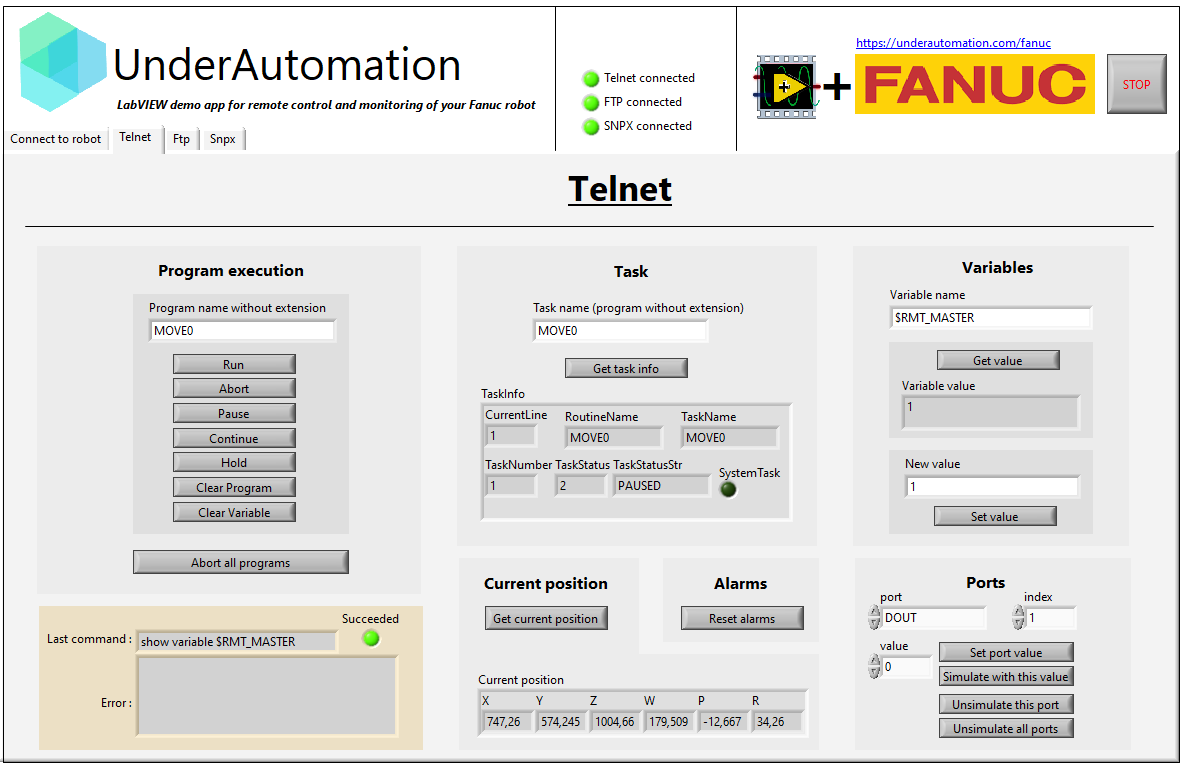
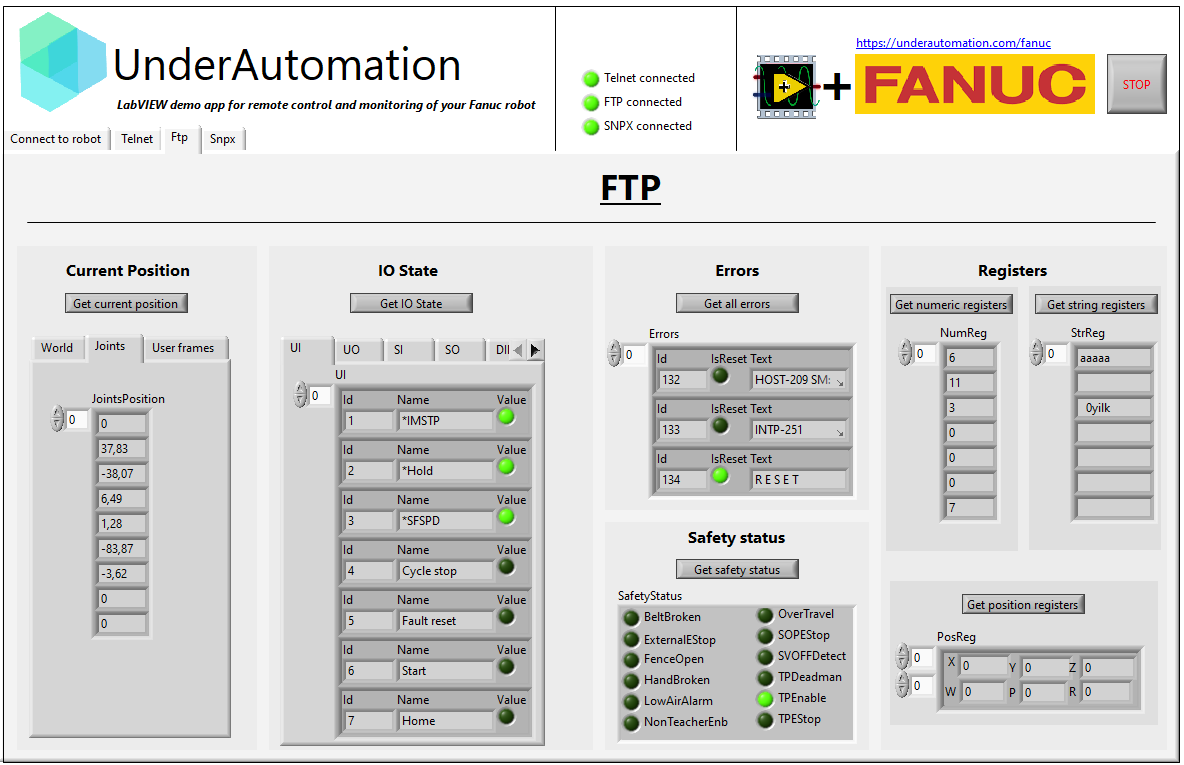
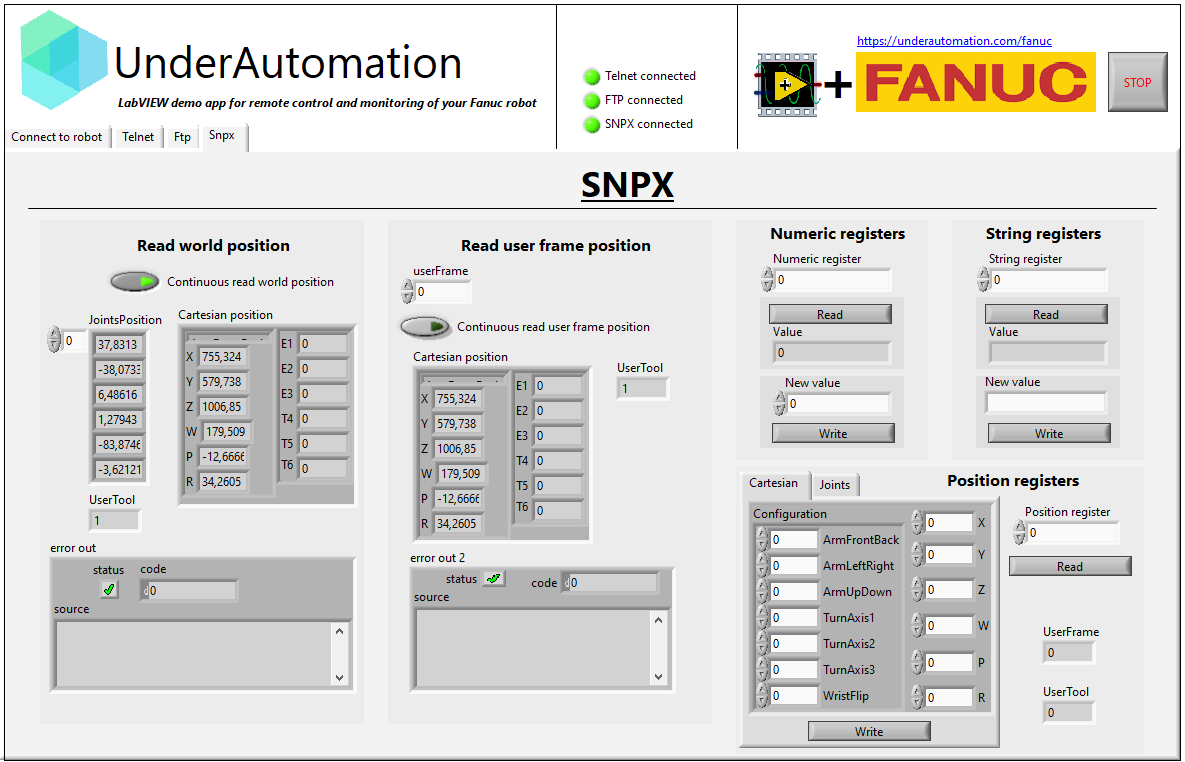
The example project shows every VI of the library, with one tab per protocol.
Register the license
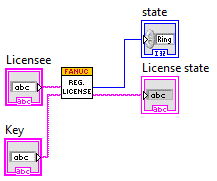
The SDK runs for 30 days without a key. After that, buy a license (see pricing): you receive a license key, to pass to RegisterLicense.vi. Call this VI each time the application starts, before ConnectToRobot.vi.
See Licensing.
Connect to the robot
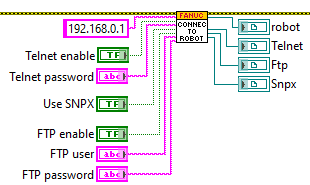
ConnectToRobot.vi connects to the robot with its IP address. Booleans enable or disable Telnet, FTP and SNPX. Telnet needs its password, FTP its user and password. The VI returns an instance of the robot and of each protocol: wire them to the VIs below.
Telnet KCL
Telnet KCL sends commands to the controller: reset alarms, write variables, set an I/O... It needs no option on the controller, but it must be enabled: see Enable Telnet on your robot.
Run
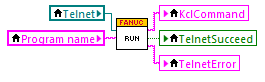
To run a program:
- set
$RMT_MASTER = 1and$REMOTE_CFG.$REMOTE_TYPE = 1(withSetVariableValue.vi); - turn the TP switch off;
- reset the alarms.
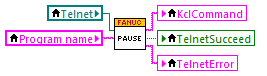
Pause
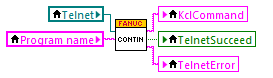
Continue
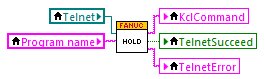
Hold
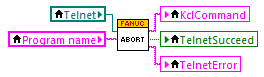
Abort
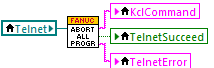
Abort all programs
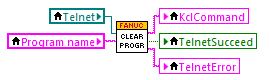
Clear program
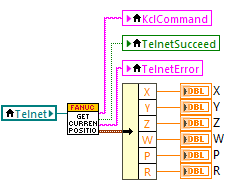
Get current position
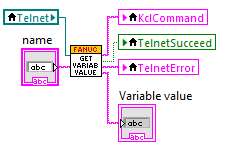
Get variable value
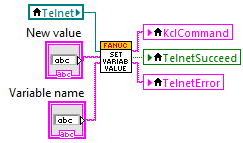
Set variable value
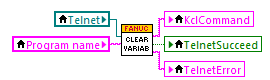
Clear variables
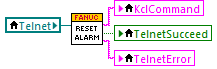
Reset alarms
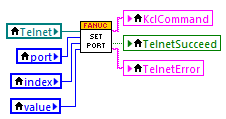
Set port
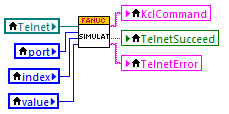
Simulate
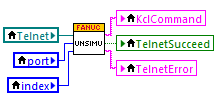
Unsimulate
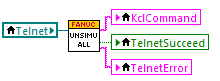
Unsimulate all
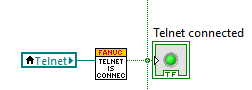
Telnet is connected
FTP
FTP gives access to the files of the controller, and reads and decodes the variable files (.va) and the diagnostic files (.dg).
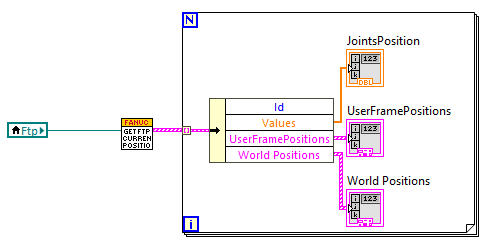
Get current position
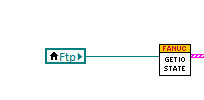
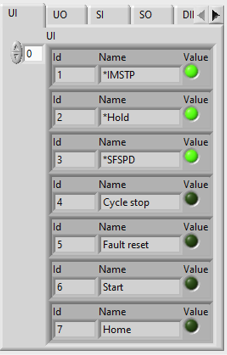
Get IO states
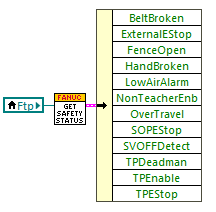
Get safety status
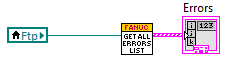
Get all errors list
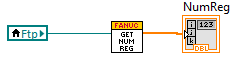
Get numeric registers
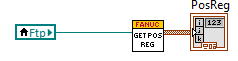
Get position registers
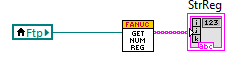
Get string registers
SNPX
SNPX (also known as RobotIF, Robot Interface or SRTP) reads and writes data on the robot in a few milliseconds. The TCP port of the Robot IF Server (60008 by default) must be reachable.
- With the FANUC America parameters (R650 FRA, option "FANUC America Corp." in the "Advanced" tab of step 7 "Robot options" of the ROBOGUIDE workcell creation wizard), SNPX needs option R553 "HMI Device SNPX".
- With the FANUC Ltd. parameters (R651 FRL), no option is needed.
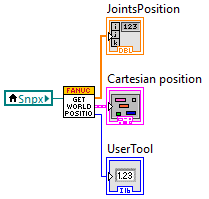
Get world position
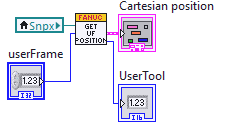
Get user frame position
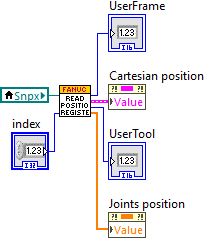
Read position register
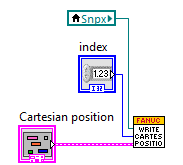
Write position register
- Write a Cartesian position
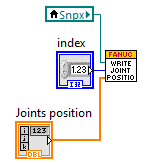
- Write a joint position
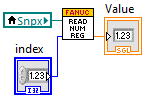
Read numeric register
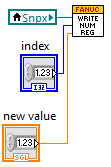
Write numeric register
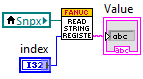
Read string register
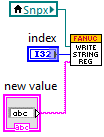
Write string register
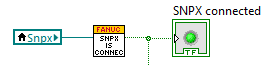
SNPX is connected
What to read next
- Connect to your robot: the protocols and their setup on the controller.
- Test with ROBOGUIDE: work without a real robot.
- Licensing: the 30 day trial and the license key.